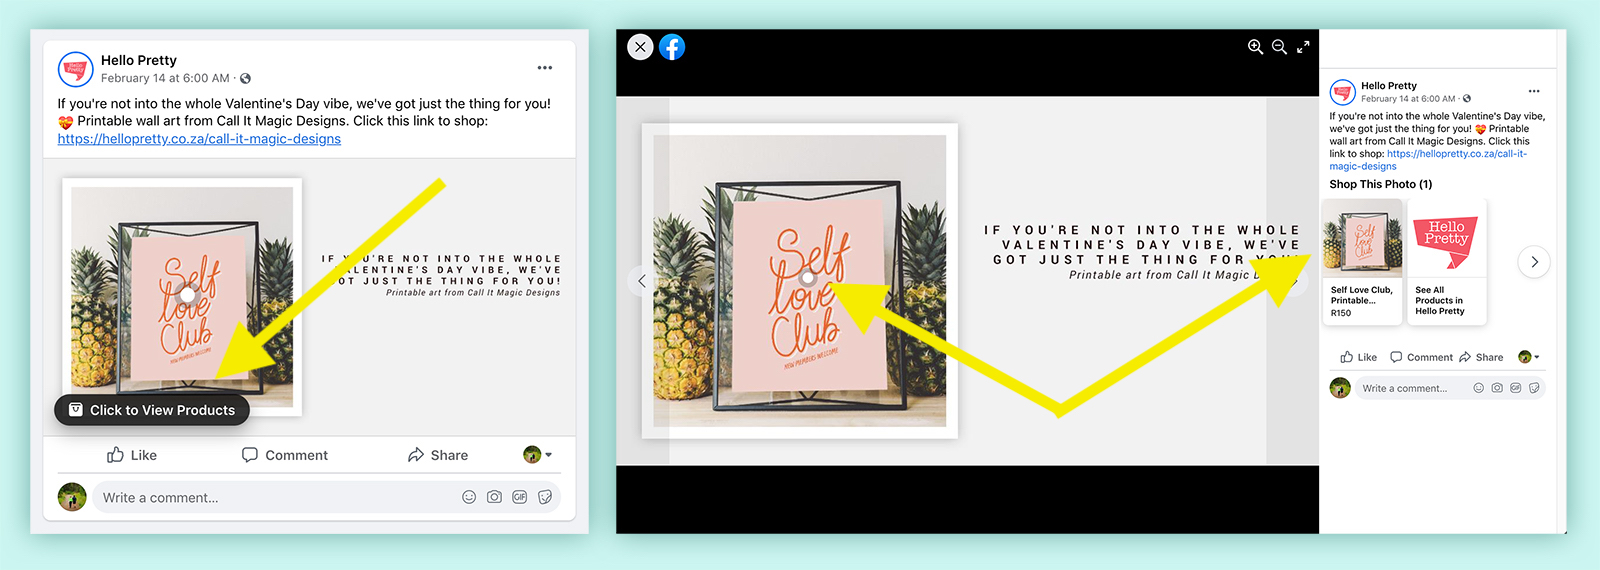
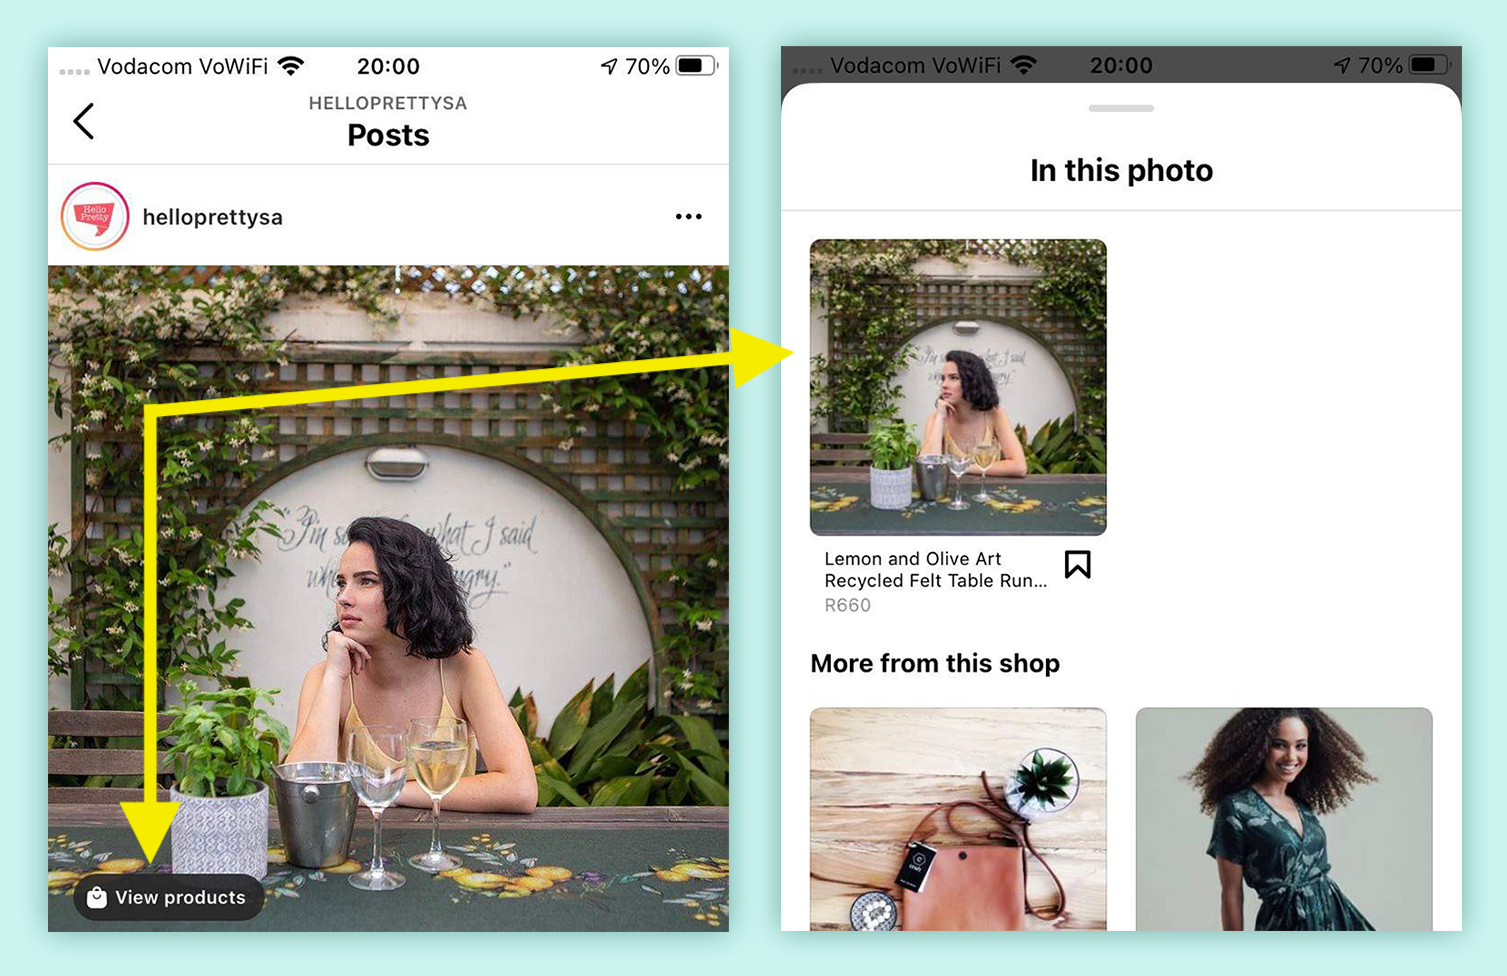
Facebook’s gone and built this super-duper cool tool that works across both it and Instagram, that allows you to tag specific products in your Facebook posts and browse your whole store from within the Facebook and Instagram apps. It’s a great tool to make things even slicker and easier to buy your pretty things.
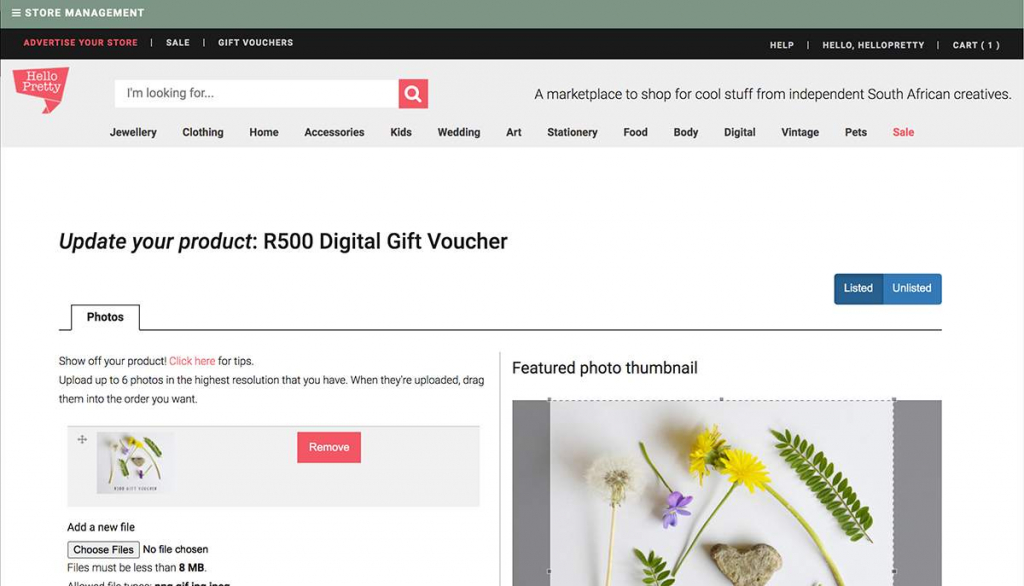
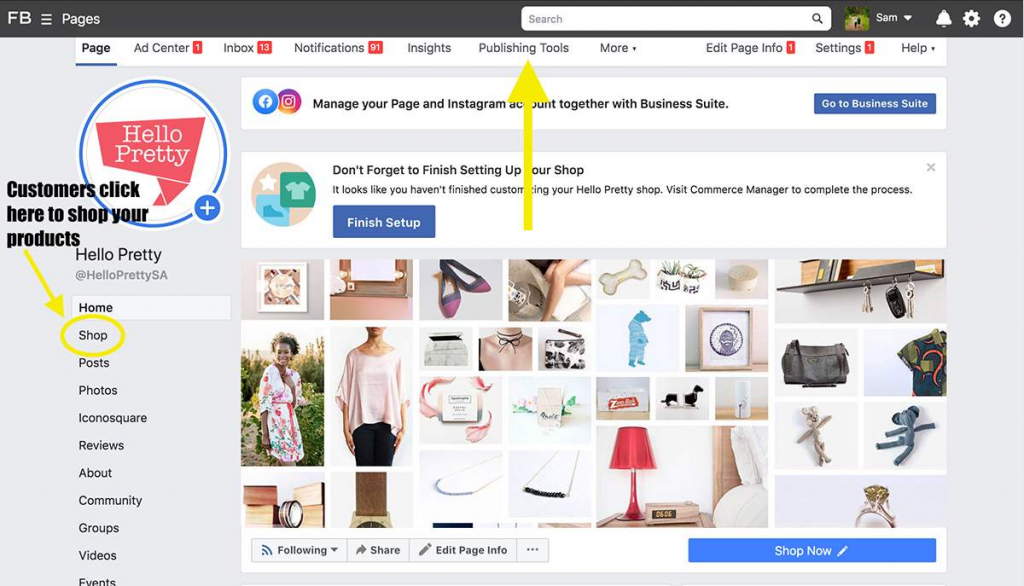
You’ll need to have two tabs open for this one. One is on the Hello Pretty product that you’re adding (like in the screenshot down below on the left), and the other on your Facebook business page (like in the screenshot down below on the right).
For our example we’ll be adding a Hello Pretty gift voucher from our own Hello Pretty shop on the site, and the business page we’re adding it to is Hello Pretty. When using your page manager, make sure that the website address you’re on looks something like this: https://business.facebook.com/YourFacebookPageName. Ours is https://business.facebook.com/HelloPrettySA.
Click on the pictures to view the full-size screenshot.
|
Product edit in your Hello Pretty store |
Your Facebook business page |
1. On Facebook, click the Publishing Tools link, and then Products in the left sidebar under the Shop section.
2. Next, Click on Catalog on the left sidebar to expand it, then click Items, and Add Items.
3. Select Add Manually and then click Next.
4. A popup will appear, and this is where you’ll add in details about your product. This is what it looks like:
This is the part where you’ll be copying the info from your Hello Pretty product into Facebook. So head over to the Hello Pretty product edit page that you opened before, and you’ll be copying and pasting your creative work from there into Facebook. Most of the fields are self-explanatory but we’ll do a quick run-through:
Image: The drag and drop area is for your feature image. You can drag and drop the photo in or upload it (you know the drill). In the Additional Images bit, you can select up to four more photos of your product.
Facebook’s going to crop your pics into squares, so for best results, upload square pics.
Title: Copy in the Product Name field from your Hello Pretty product.
Description: Copy in the Product Description field from your Hello Pretty product.
NB! Website Link: This is important to get right. It’s the page that customers will visit when they click the Shop button on your product from Facebook.
Simply copy / paste the link to where this product is on your site, not the link to the edit page. For our gift voucher, we pasted the link https://hellopretty.co.za/hello-pretty-store/r500-digital-gift-voucher.
Price: The currency to use is, of course, ZAR. In the amount field, list the full, regular price of your product. If it’s on sale, fill in the original, non-sale price.
If your product is on sale, check the This item is on sale box and it will roll out a field that you can fill in the new, lower, discounted price in.
Condition: Most Hello Pretty sellers will want to select New from this dropdown.
Brand: You don’t need to fill anything in here, unless you want to. Your product will be tied to your Facebook and Instagram accounts anyway, and those shows your brand.
Content ID: If you have a stock inventory system you can fill in your SKU or product code here.
Now, click the Next button and it will take you to the Display Options tab. You can leave these two fields, Visibility and Availability, at their default values (On), and then click Next again.
This tab allows you to add different product variants, eg different sizes and colours. Currently we don’t use this ourselves but if you try it out let us know how it is!
And you’re done! Now you can tag this shoppable product on your Instagram posts, your Instagram stories, and on Facebook posts.
